Nanite & Foliage - Complete Workflow
Bonjour à tous!
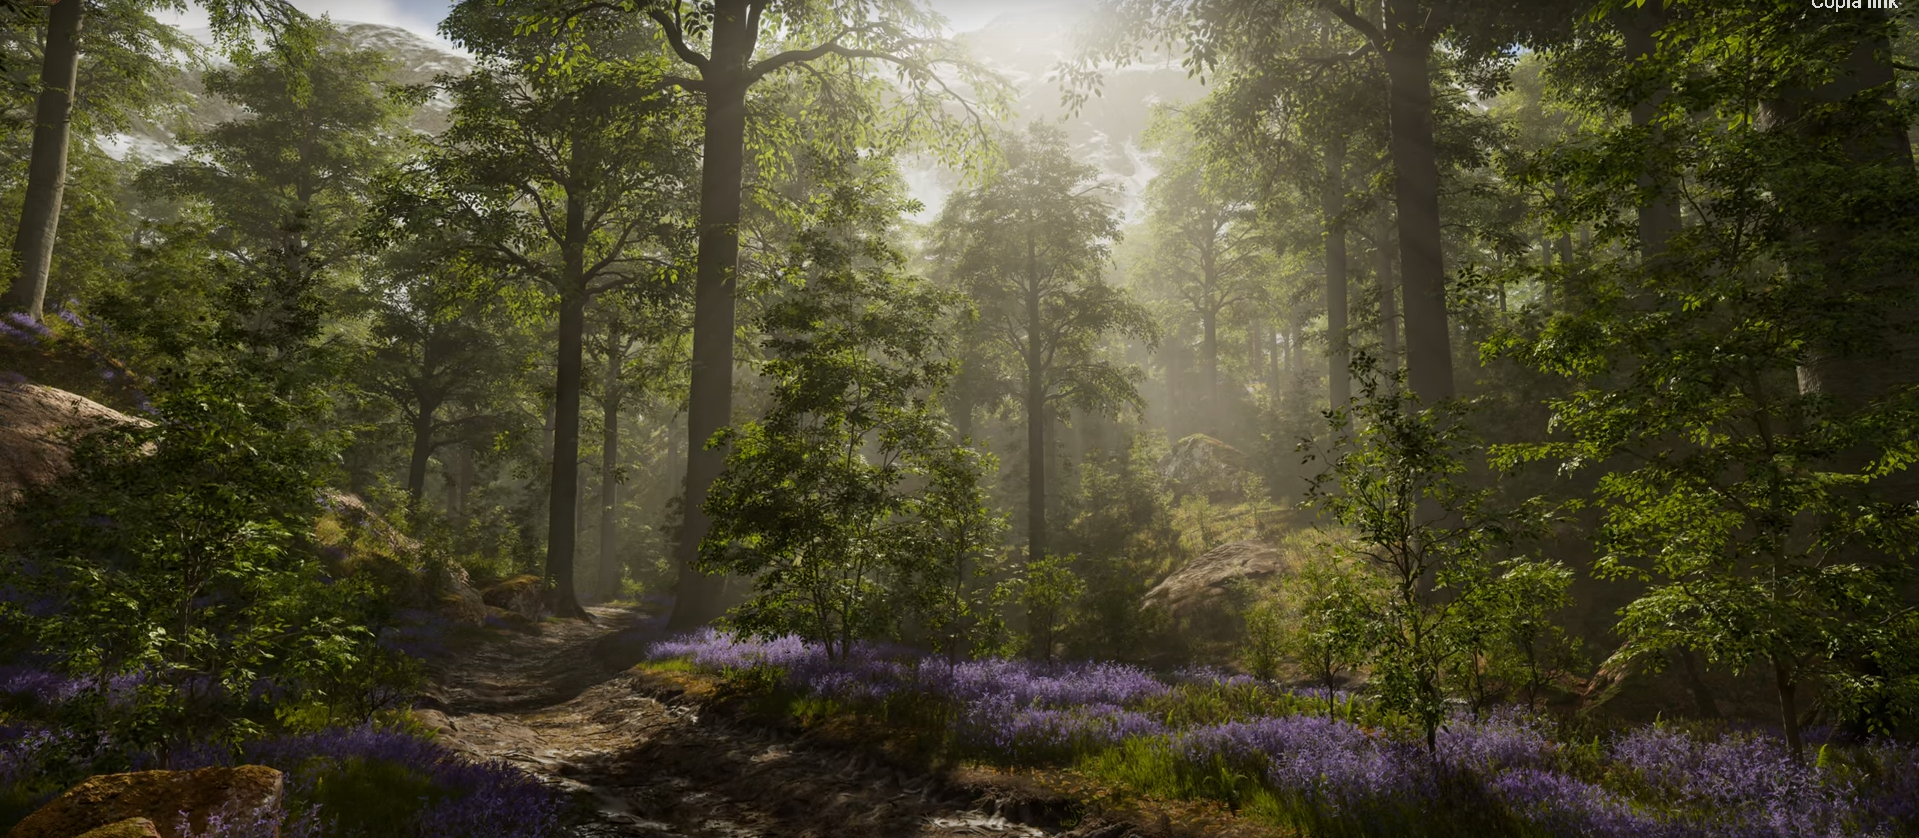
If you have been following me on my various networks (LinkedIn or Instagram) by now, you will be aware of my recent interest in nanite and vegetation. Through this post I would like to detail my workflow and what I learned during this project.
Please note, this is by no means a tutorial or the only way to do things. It's just the workflow I developed and used to create this scene. I'm still convinced that there's plenty of room for improvement.
Speedtree - Trees Creation
Although nanite allows great freedom when it comes to triangles (tris) budgets, it's not unlimited. That's why I decided to aim for a polycount of between one and two million tris per tree. This is infinitely too heavy for a game, but being on a scene, I let myself go. It's also important to know that most of the polycount comes from the foliage, which can be further optimized. Note that the logic of creation remains the same whether you use nanite or not: the lower the polycount, the better.
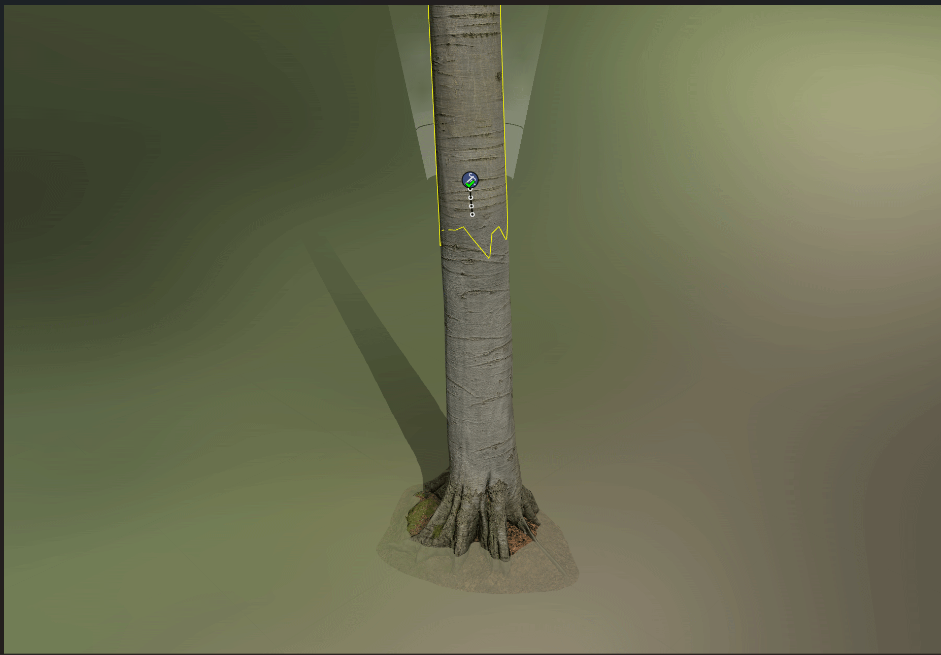
Working with scanned trunk - The first step in creating the trees was to make the most of Nanite, which is why I decided to use scanned trunks from Megascans. Despite the use of nanite, I chose to use LOD3 for greater comfort. Lower LODs being too heavy
Before continuing and progressing on the tree, I always start by creating a tileable texture of my scan whenever possible. Some assets are so specific that it's sometimes better to use tileable textures available from Megascans or other libraries. To create a tileable texture based on the scanned part, you can use the Mesh Converter tool which is made for this purpose. Note also that it can help you convert a scanned asset into a Speedtree asset, which can be very useful in the case of large-scale optimizations.
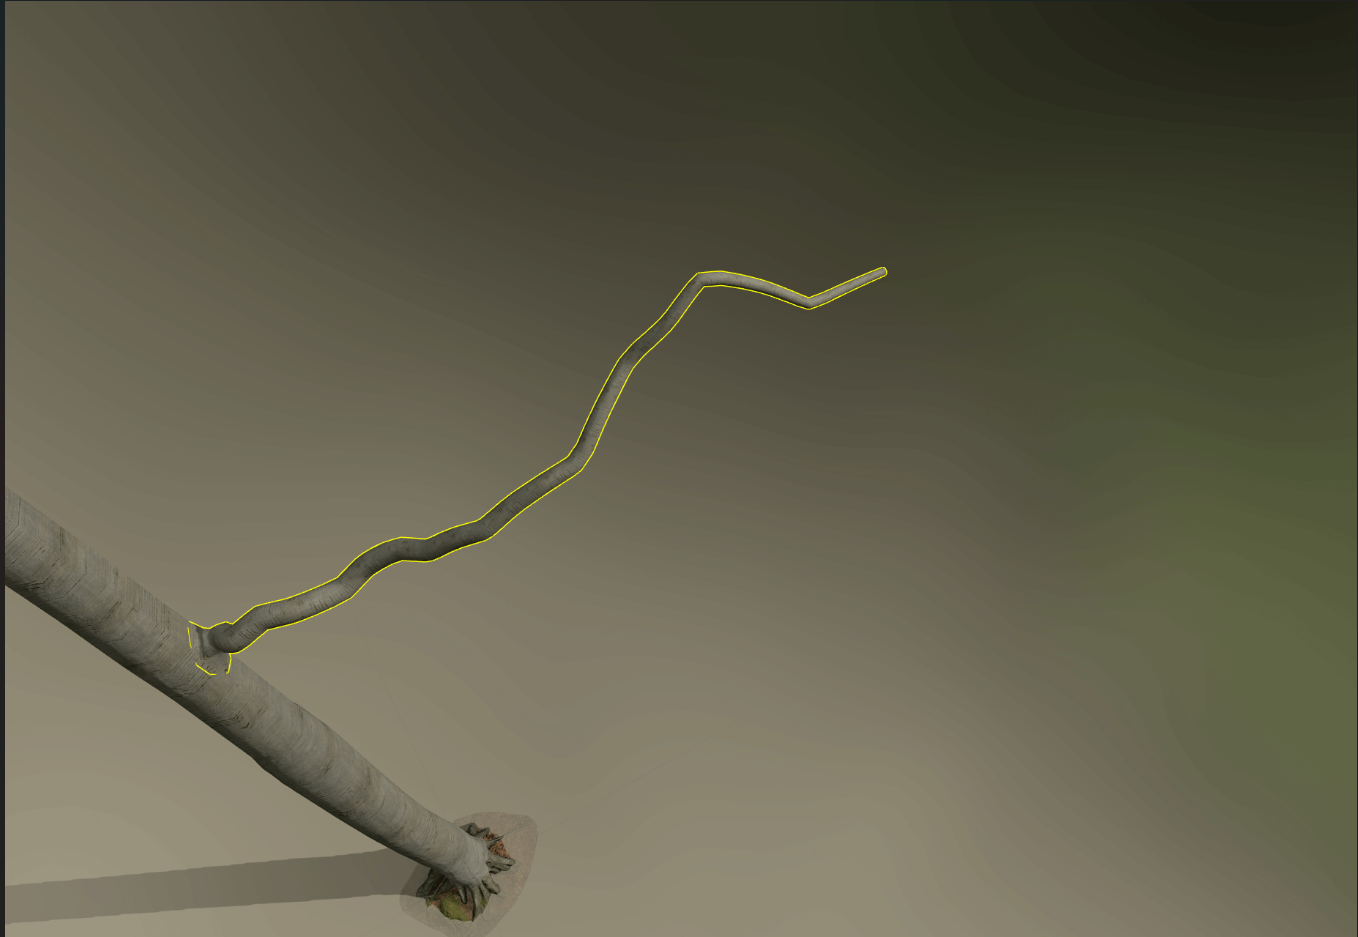
Thanks to the “Stitch” tool, it's possible to combine custom assets and Speedtree assets quite easily. Although it needs to be positioned correctly, it is a great help in combining the two asset types together. Note that the Stitch always comes with a branch that represents the continuity of the trunk. It's to this branch that you must assign the texture we created earlier.

Good to know - For the transition between Stitch and mesh to work perfectly, you need to bake this information by selecting your mesh, going to “Material” and using the “Bake Stitch Tool” option. From here you can bake textures only, or create a shader with them automatically.
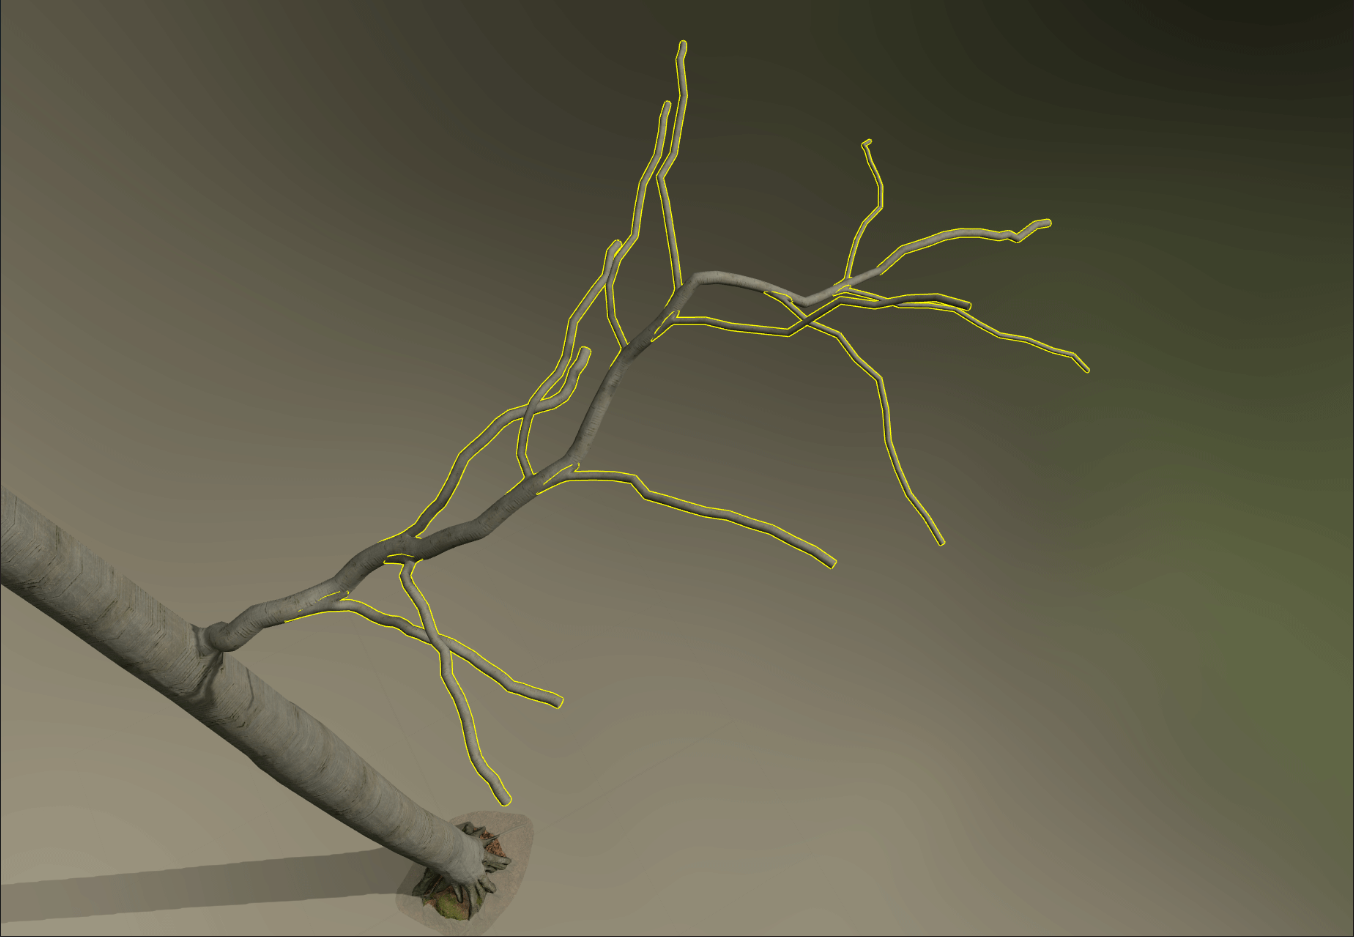
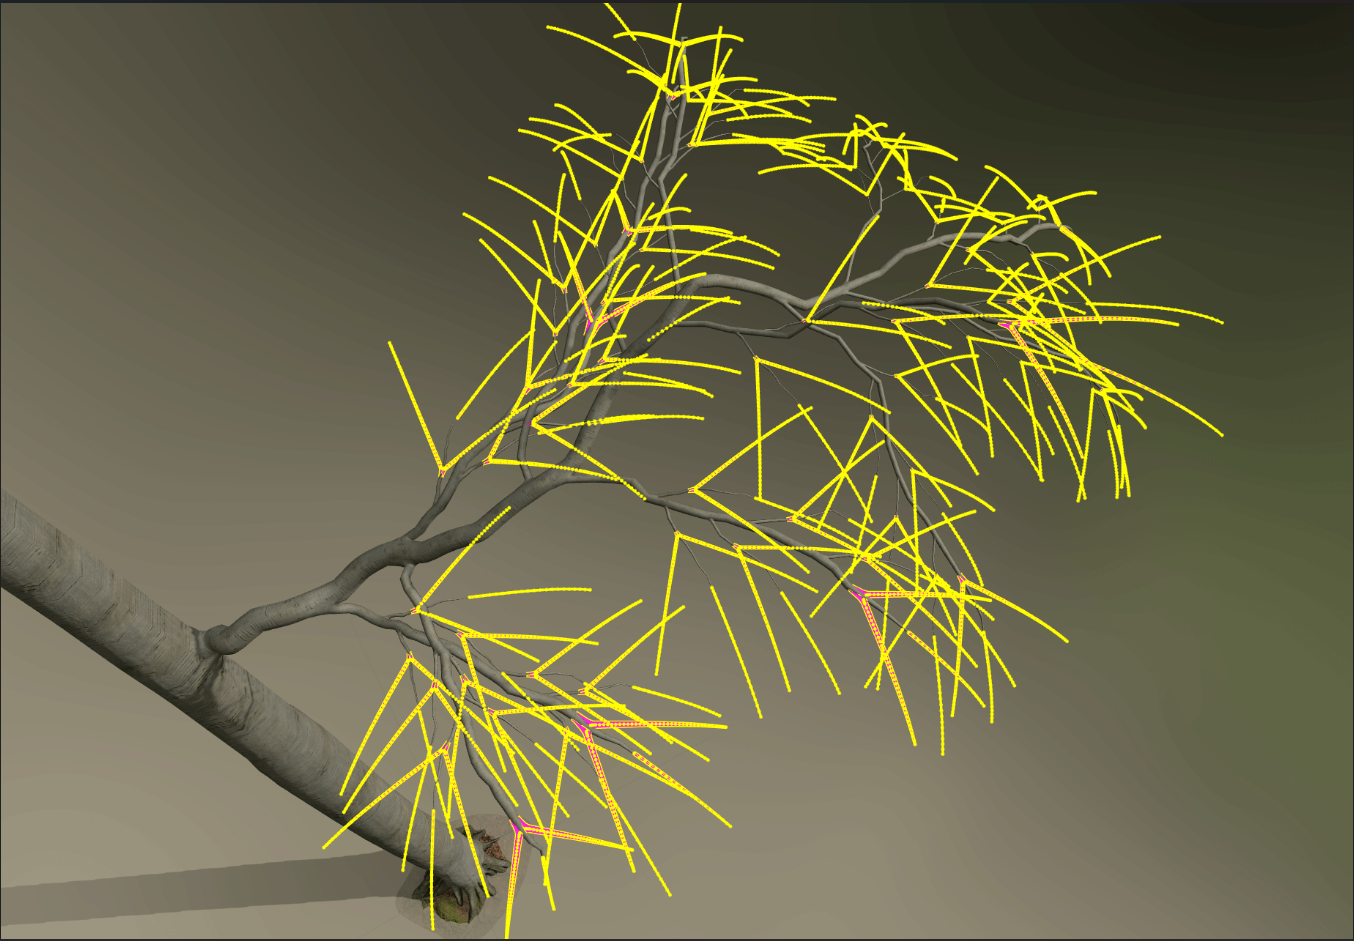
Structure workflow - The rest of the structure is quite similar to that of Speedtree in general. But since with Nanite you don't have to bake entire branches for use on planes to optimize the trees as much as possible, the real difference is the number of 3d branch levels, which is greater than with a traditional workflow.

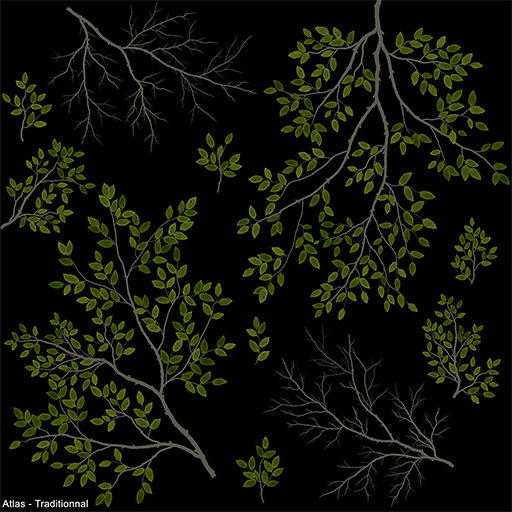
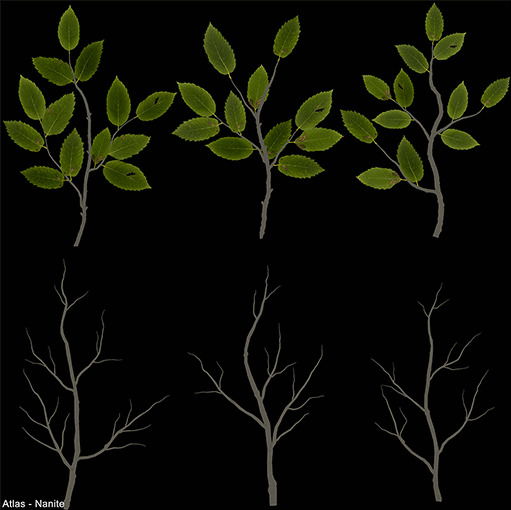
Nanite Atlas Specification - While it's usually necessary to include as many different-sized branches as possible in an atlas, here too Nanite requires you to work differently to traditional vegetation.
There's no need to bake atlases with dozens of different branch stages, just a few small branches are enough. Not only does this reduce the number of elements in an atlas, it also means that the elements can be made larger, thus enhancing their quality. As the elements are larger, their resolution is also higher, which reduces the “blurring” present on atlases with too many elements or where the size of the elements is not respected.
See for yourself the comparison between one atlas for a traditional approach and the other for Nanite.
Once the atlas is complete, we can cut out the plans to detail our various branches. But for Nanite to work at full speed, it's imperative to remove all transparency, especially from the vegetation. So we need to find a way of converting a classic mesh, based on an opacity mask, into a totally opaque mesh that can do without this problematic mask.
Good to know - You can learn how to create these trees in hybrid workflow (3d structure in nanite and foliage in LODs) in my Old West Environment course.
Houdini - Converting alpha based meshes to opaque
That's when I thank Quentin King and his video showing how to create the tool to convert alpha card mesh to an opaque geometry in Houdini. If you want to know how the tool is made or even recreate it, I highly recommand you to watch his video.
For my part, I will just show you what you can do with this tool.
As you can see, once correctly configured, the tool works perfectly and saves an enormous amount of time compared to manual work. While in theory this tool works on all types of asset using an opacity mask, I have tested it on vegetation only.
Now see the result with our branches assets using the tool on serval trees used for this scene.
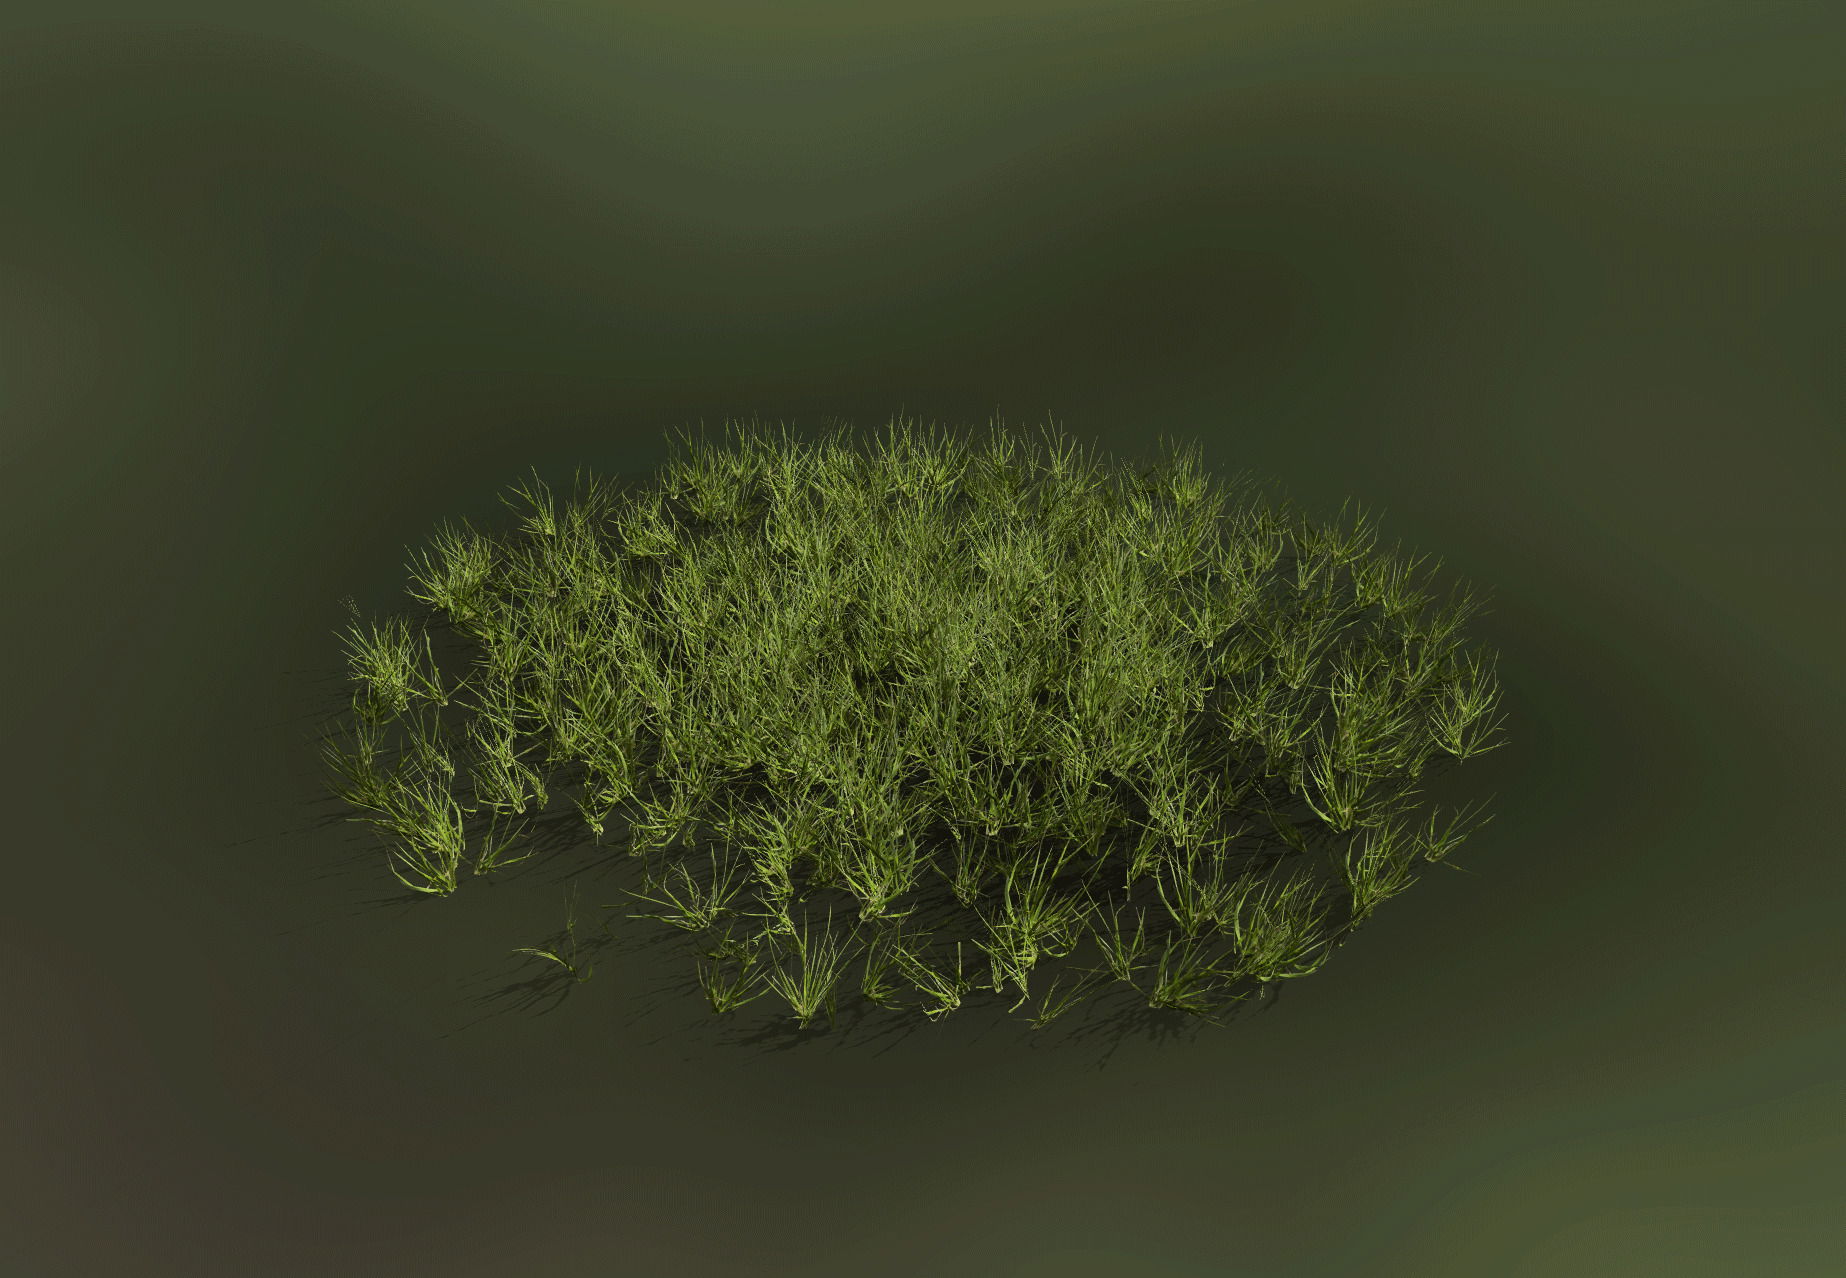
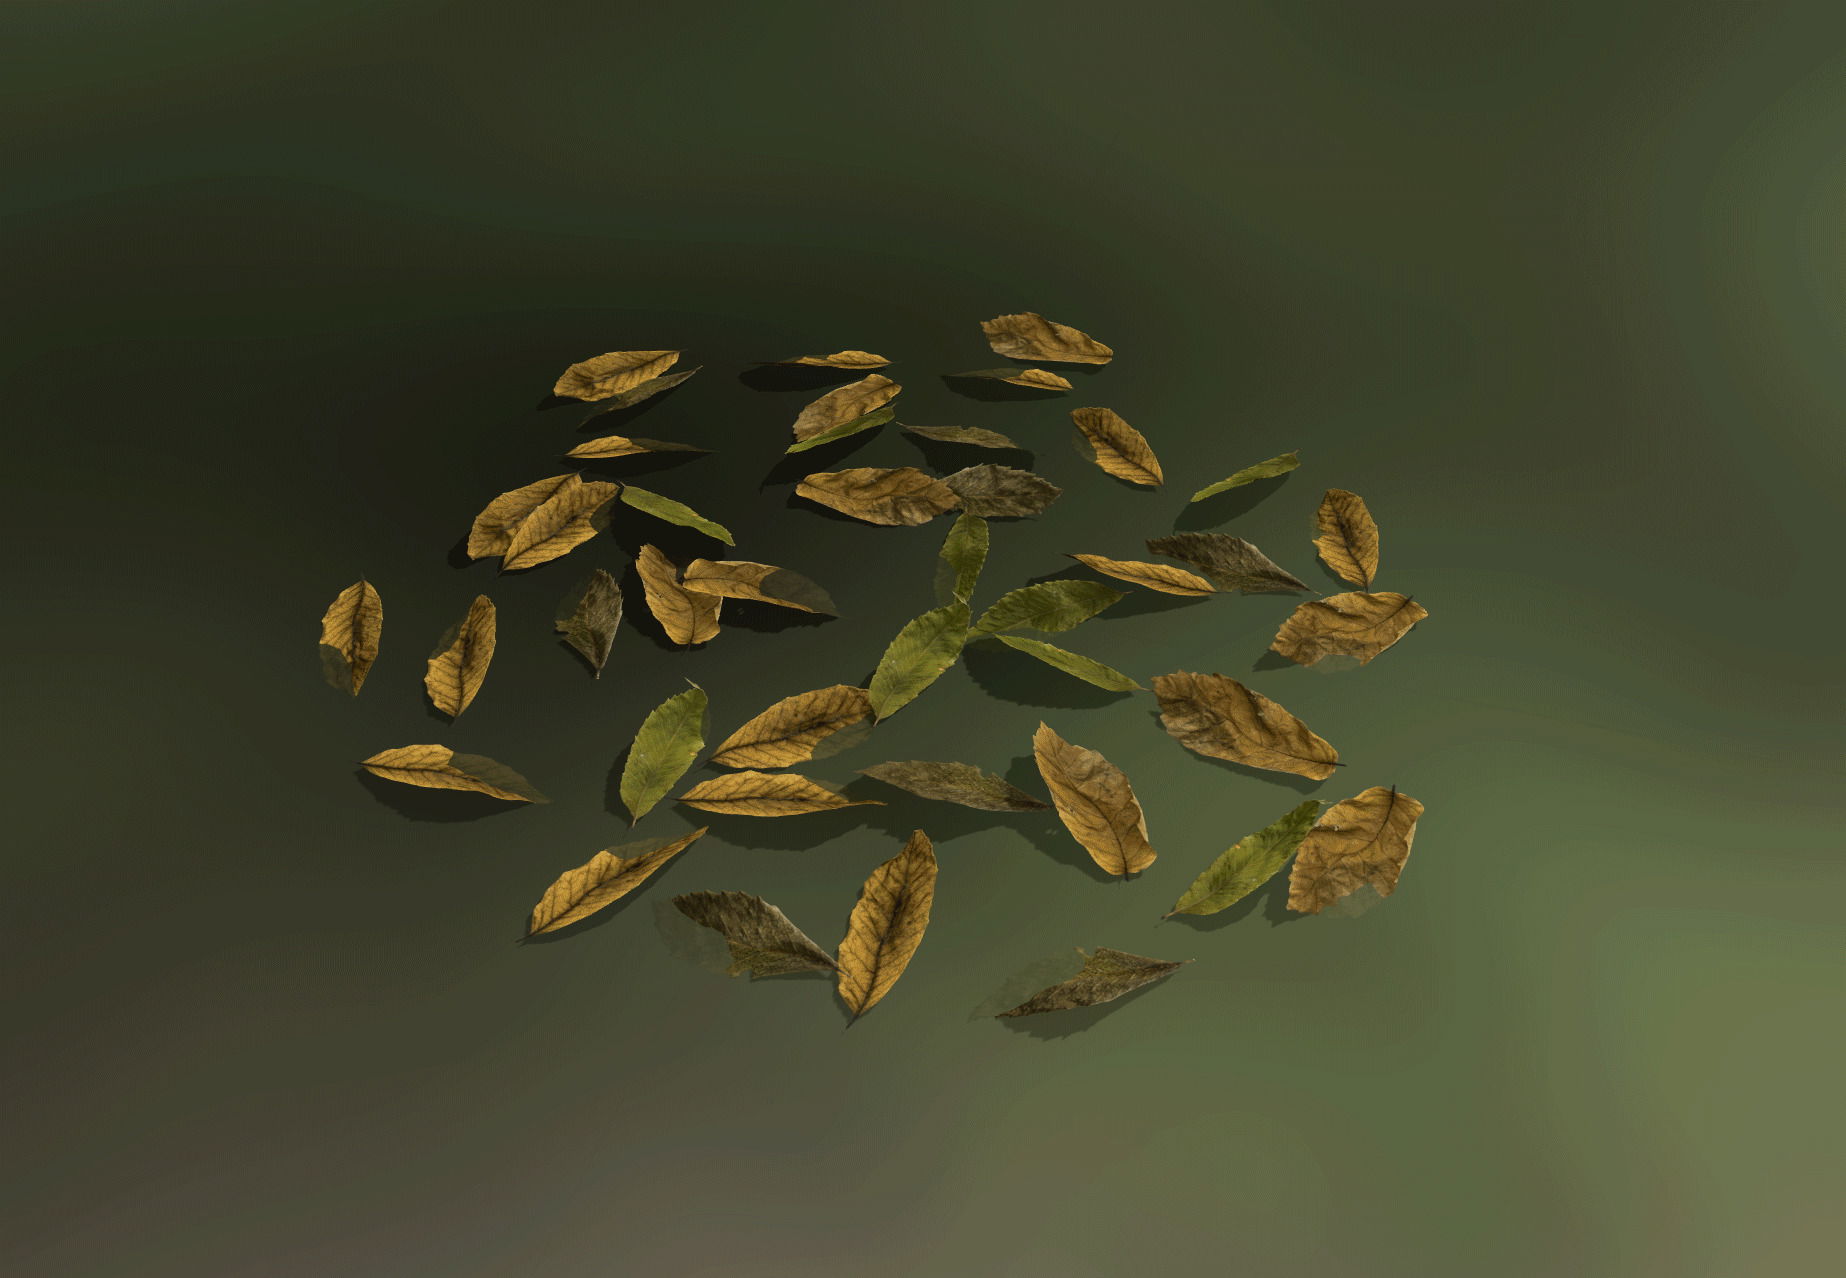
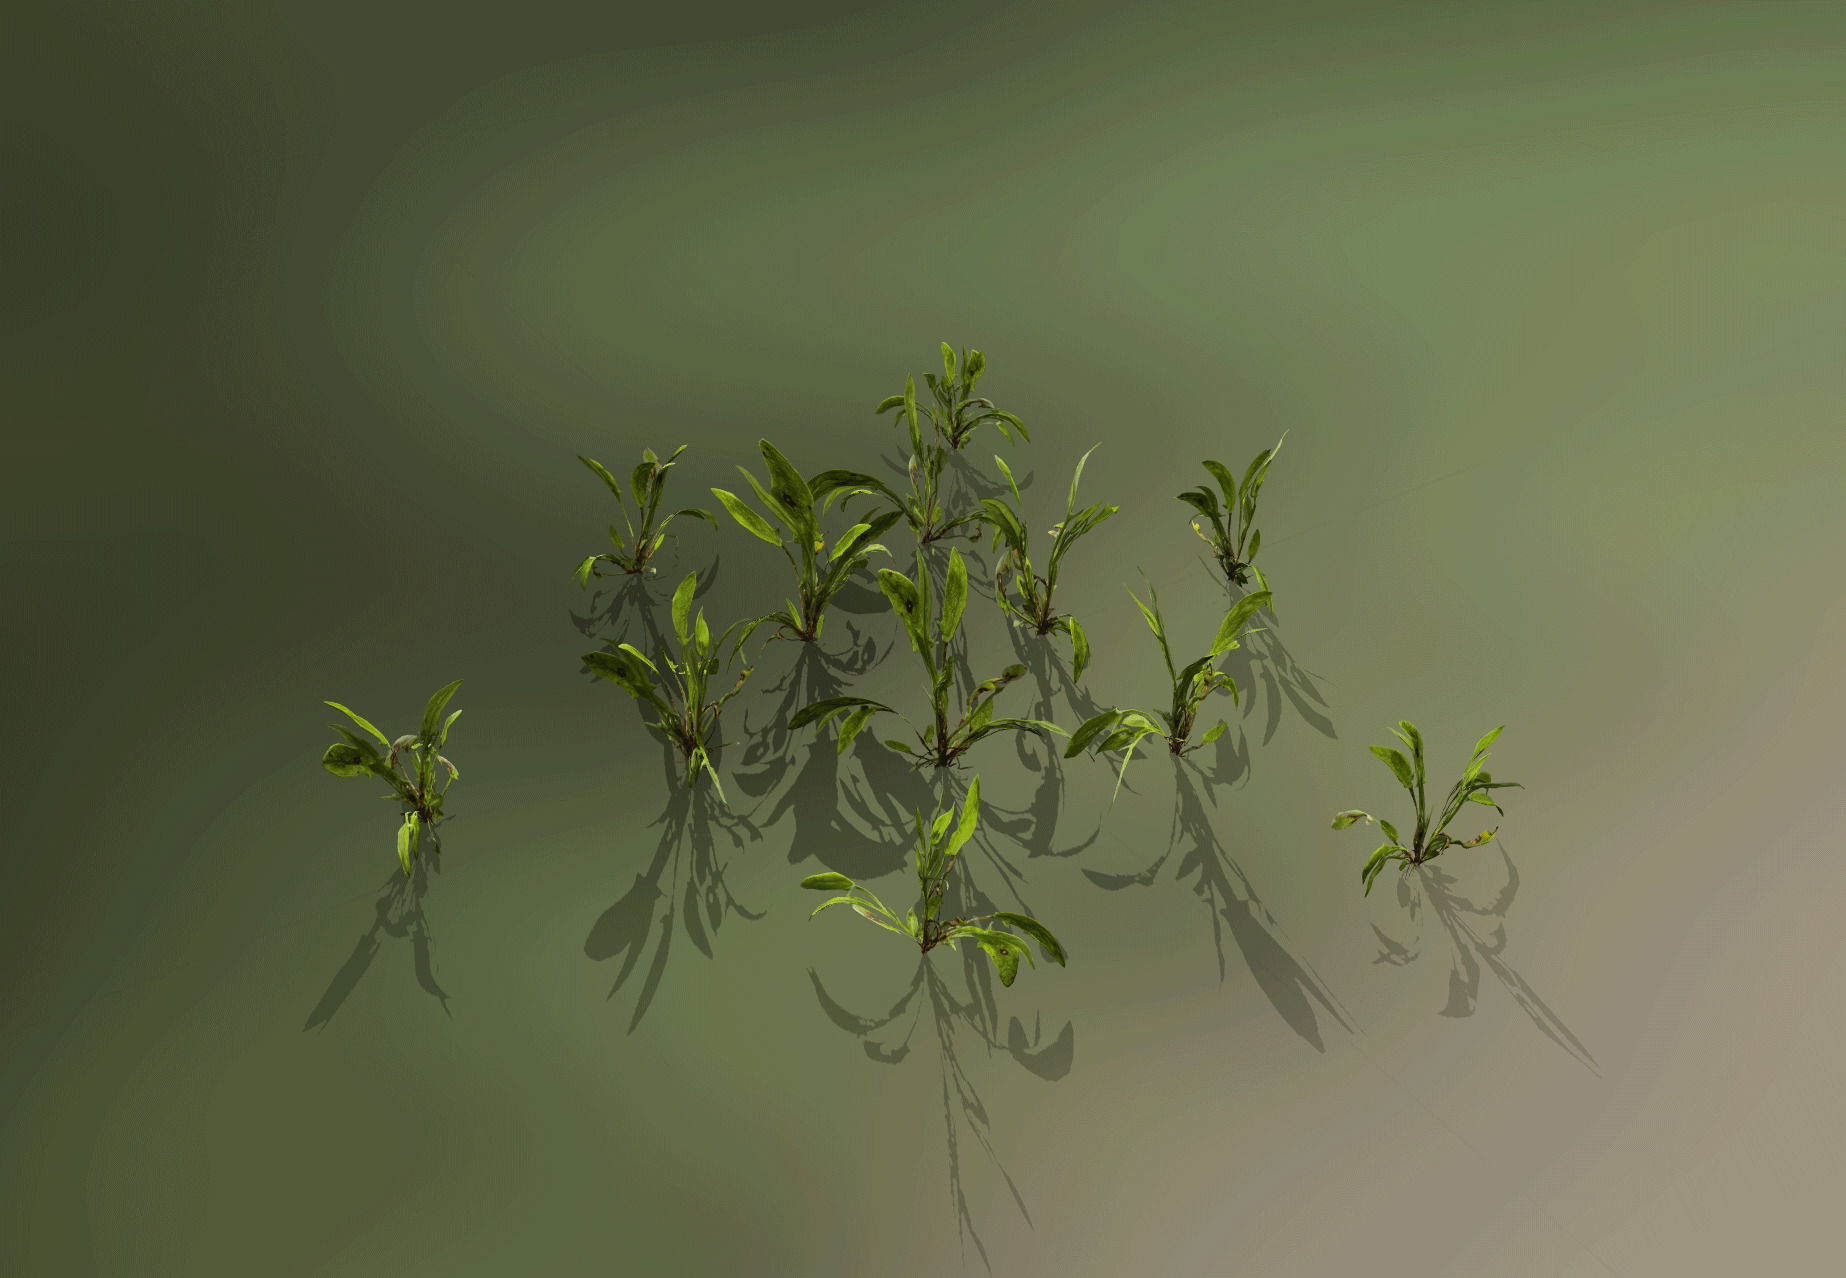
Speedtree - Ground Vegetation Creation
The approach for ground vegetation is quite similar to the one used for branches. I started with cutouts based on an opacity mask, which I removed using the tool shown above.
The real difficulty with this type of asset is to remain consistent on the tris count in each asset. As each asset is duplicated many times, it's advisable to keep the values not too high. With the exception of my grass, which exceeds 170k tris, and the purple flowers, which are approaching 100k, the rest of my assets don't exceed 30k.
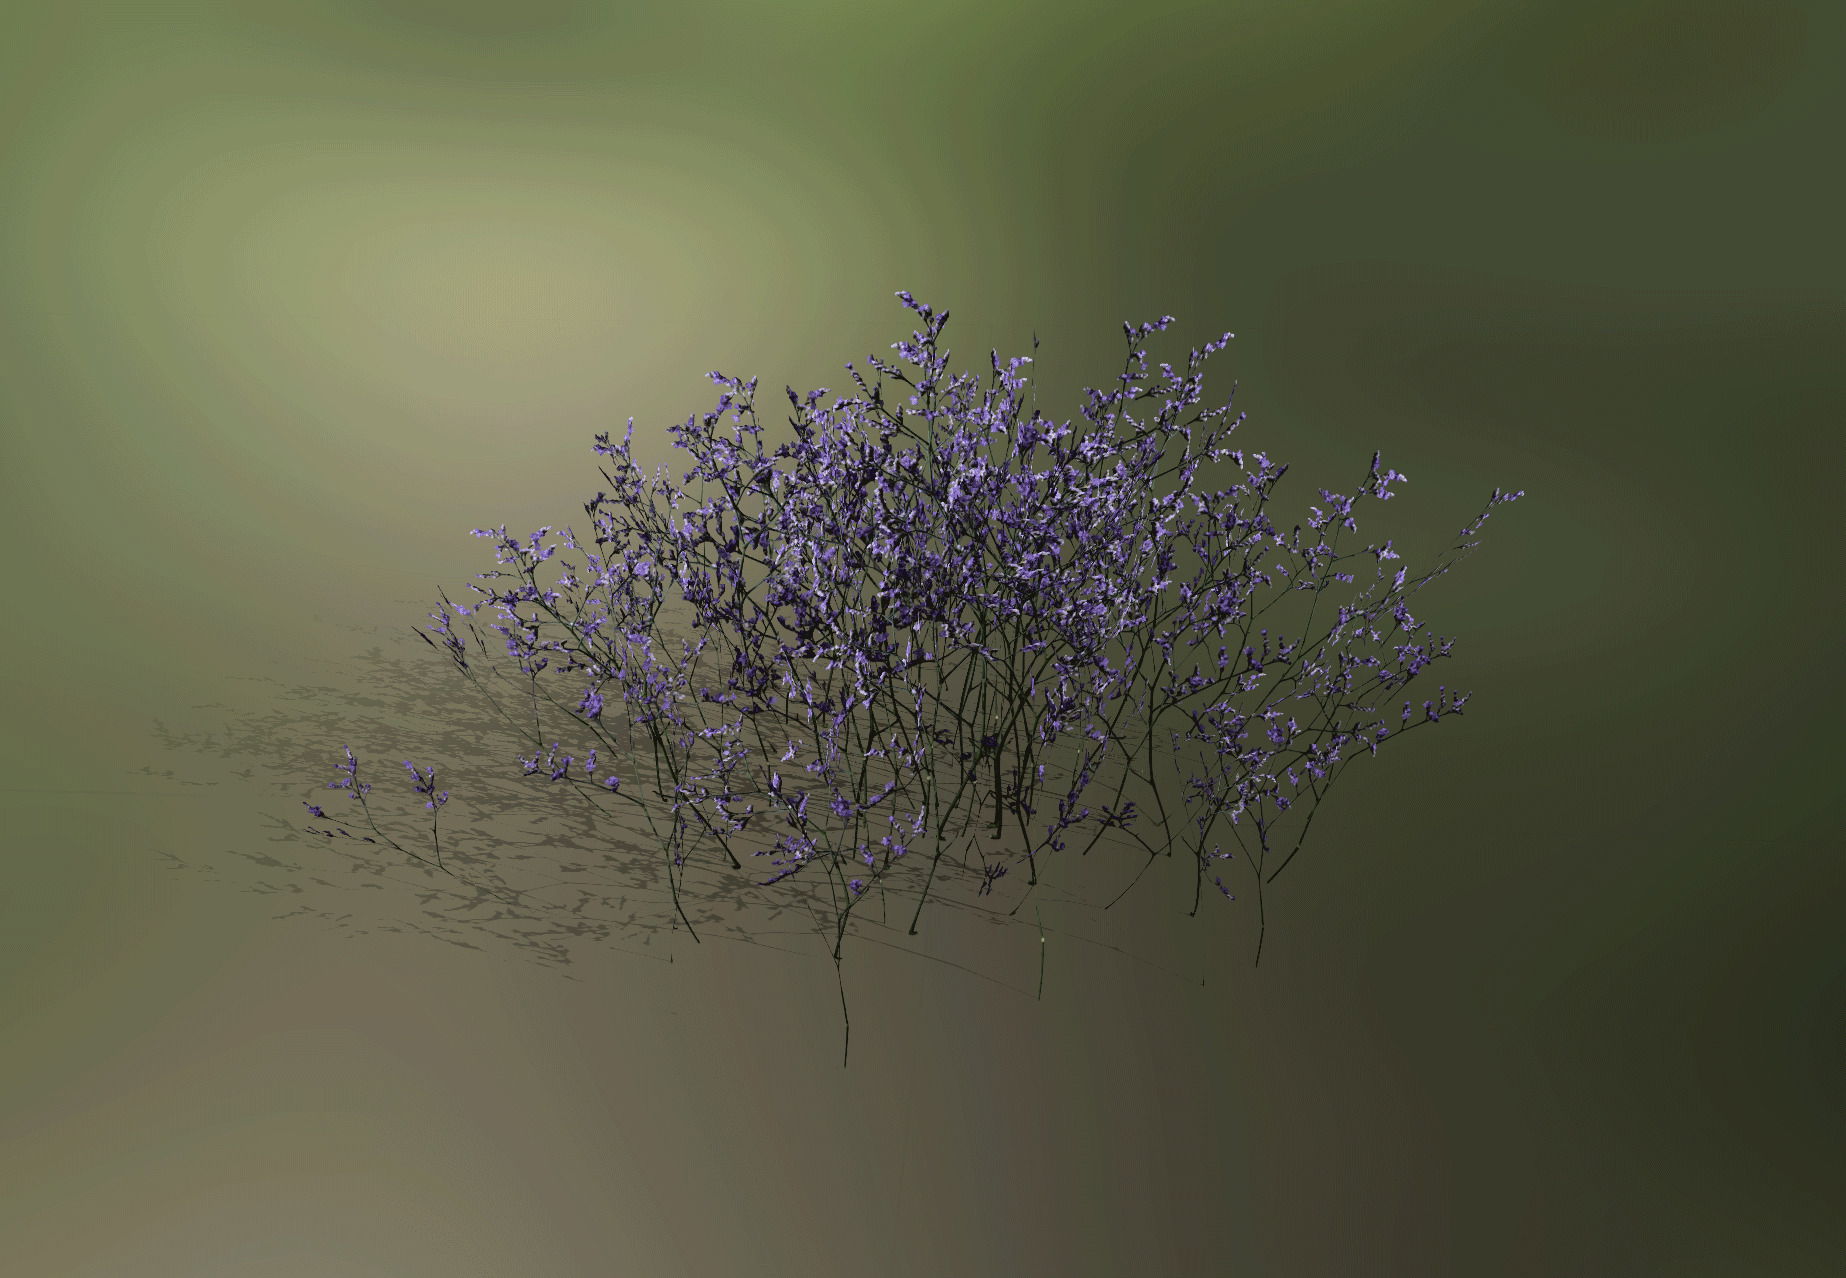


Again, I have taken the liberty of reaching these values because I'm on a scene, not a game. If you were to adopt a similar approach for a game, I would advise you never to exceed 10k per asset. Even though Nanite handles assets with a very high number of triangles very well, the fewer triangles your assets have, the more efficient Nanite will be and the better yo will be able to manage your budgets.
Speedtree - Wind
Initially, my scene was to contain no wind and only static shots for rendering. Aware of the impact it can have on performance to have Nanite assets with wind, I wasn't sure I wanted to try. But then I thought it would be a real shame not to fail on this one, so I took a chance and gave it a try.
"Legacy Unity / Unreal Engine" and .st format - I started with the classic approach and although my assets moved well when imported, once converted to Nanite, it was impossible to make them move.I figured it must be a problem preserving vertex color information, so I switched to the second approach.
Pivot Painter (IGToolsPP) - Although this approach is extremely resource-intensive, I was prepared to adopt it if it allowed me to make my trees move once converted to Nanite. And it worked, the trees move with this approach, adding the function to make the tool compatible with a custom shader is pretty straightforward and the wind is pretty interesting.
But having to go through a specific layer to configure it seemed rather complicated to me, especially on dozens of different assets. Although the copy/paste option is available, it didn't seem the best approach. More than that, it seems to have a normal issue on trunk which may be caused by my lack of knowledge about this tool. That's when I thought about the second type of wind Speedtree offers.
"Game" and .st9 format - After the two previous failures, I wasn't really confident in testing this new approach. Convinced that it would be similar to the first type of wind. Nevertheless, I took a chance and tried this new type of wind. It took me a few tries before I managed to understand how it worked and what role each parameter played. Once everything was clearer to me, I configured my first tree and exported it to Unreal.
The first results were not very conclusive and even if my trees moved once converted, they seemed to be quite different from what I had on Speedtree. But the difference between this wind and the “Legacy” is that here all parameters are available from the material instance in Unreal. This offers great freedom in its configuration. From then on, I configured the wind of my trees as a base and no longer with the idea of a final result.
As each growth stage of my trees is quite similar, configuring just one allowed me to affect the others. So I set up four wind types, one for each growth stage. Large, Juvenile, Sapling and Seedling.
So, if you need to configure wind on your nanite vegetation, I recommend using the “Game” wind type and exporting your assets in “.st9” format from Speedtree 10. Although this type of wind is available on version 9, I haven't tested it. This way, the changes won't affect all your actors.
A few words about shaders
As you now know, Nanite will never work better than with opaque shaders, but if you don't want to create a new master shader or are afraid of breaking the one you already have, you can change the shader type (blend type) directly in the material instance. This way, changes won't affect actors using the same shader.
Good to know - You can learn how to create each of the shaders used in this scene here
Performances
Before going any further on this subject, it's important to bear in mind that I haven't carried out any extensive tests or comparisons. So I won't share anything here other than my own findings.
Compared to the early days of this scene, in which I used only traditional vegetation, the performance gain by using only Nanite assets and an opaque shader is quite impressive. It's very difficult for me to make points of comparison, as I didn't think of this project in this way at all, but very soon after I immersed myself in the subject, I shared my surprise at the performance. The following screenshot of one of my posts on LinkedIn, posted shortly after I began my research, bears witness to this.
As I feared and already knew, the impact of wind on Nanite assets is quite significant. On average, I lose around 30 FPS when the wind is active.
The final scene runs at around 45 fps in 1440p with all Nanite and wind on an RTX 4080, at 75 fps without wind. It's important to note that Nanite on terrain is extremely resource-intensive, so assets are far from being as optimized as possible and that these figures come from the editor and not from a standalone version.
However, I'm convinced that with a more game-oriented approach and the constraints that go with it, it's not impossible to stay above 100 fps in the same conditions, without wind.
Conclusion
Before this project, I thought that nanite wasn't a technology for vegetation, but today my point of view has changed. I wouldn't go so far as to say that it's fully functional and problem-free, but the progress made through the various Unreal Engine 5 updates is heading in the right direction and reinforces my belief that, one day, nanite and vegetation could well be an option for many studios.
This project will be covered in a course over the next few months, but I will be posting a new blog entry to share information about upcoming courses and how they will evolve.
Thank you all for taking the time to read this post.
Don't hesitate to tell me what you think of Nanite on vegetation, always with kindness and respect for everyone's opinion.
Link to Michael's Artstation profile.
Latest posts

Houdini Certified Instructor: Requirements and Structure
Become a Houdini Certified Instructor (HCI). Validate your experience by passing the Generalist exam. Certify your teaching and technical skills with SideFX.
Biunivoca at Romics
The indie game boom: sound, imagination, and creativity

Twinmotion 2025.2: faster and more realism!
Twinmotion 2025.2! The introduction of Nanite allows you to manage models with millions of polygons in real time. New Parallax Windows, VCam, and Explosion Animators speed up your workflow and increase realism.